(click on the
red phrase to link to the URL)
Hi,
This addition to the previous posts is in response to
chumley’s question about posting images. The initial thread was on
Software Usage reply #16 on page2. Let me repeat some of the previous ideas and continue on how I post images and photos onto the Forum.
Getting your image:
Using a scanner is important only if you have an analog photo. If you have a digital image (file name will usually have the extension .jpg), then you are good to go. The scanner will convert a analog photo into a digital image. Try to use the jpg file type for simplification.
If the image is already on the screen, then you are half way there.
Window OS:
1. Press
<Print Screen> on the upper right top row of your keyboard. It will save the whole screen so make sure the subject image is in full screen.
2. Save the screen capture by pressing
<ctrl> plus
<c> (this is called a keyboard shortcut).
3. Start the free included Microsoft Paint program:
<Start><Programs><Accessories><Paint> 4. On the top menu choices in Paint, press
<Edit><Paste>. You screen print should show up on the screen within the Paint program.
5. From the top menu choices in Paint press
<File><Save As>: Choose the place on your hard drive you want to save the file. Name the file. Choose the file type as jpg.
Mac OS:
Someone else needs to post because of my ignorance.
Posting onto the Forum
Get your image onto the Internet first. You cannot load images directly onto the Chinese Genealogy Forum because images are large files and the Forum cannot afford the hard drive storage space to hold these files. With these image files stored onto another Web site, you will direct the program by including codes within the text of the written post to find these files and display them correctly on the reader’s screen.
Sign up for a
free google photo account aka Picassa. Upload your images and make sure you <SHARE> your folder selected as ‘Public on the Web’. See the yellow highlighted and the red circled <SHARE> below:

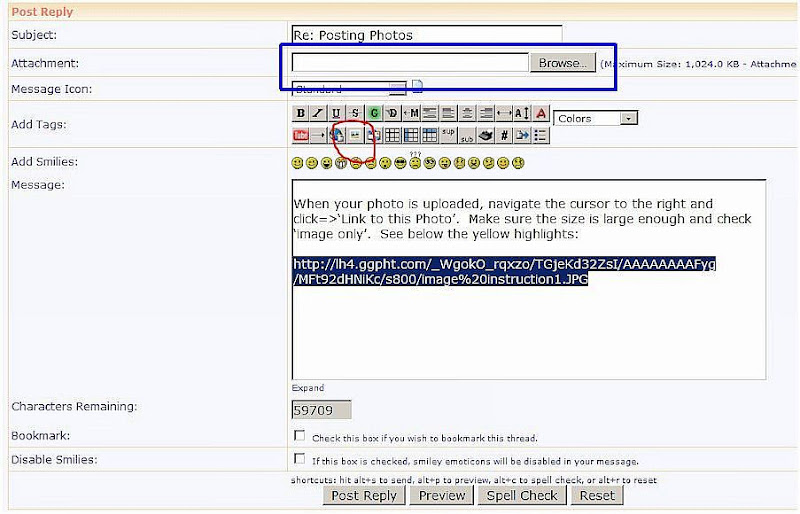
When your photo is uploaded, navigate the cursor to the right and click=>
<Link to this Photo>. Make sure the size is large enough and check
<image only>. See below the yellow highlights:
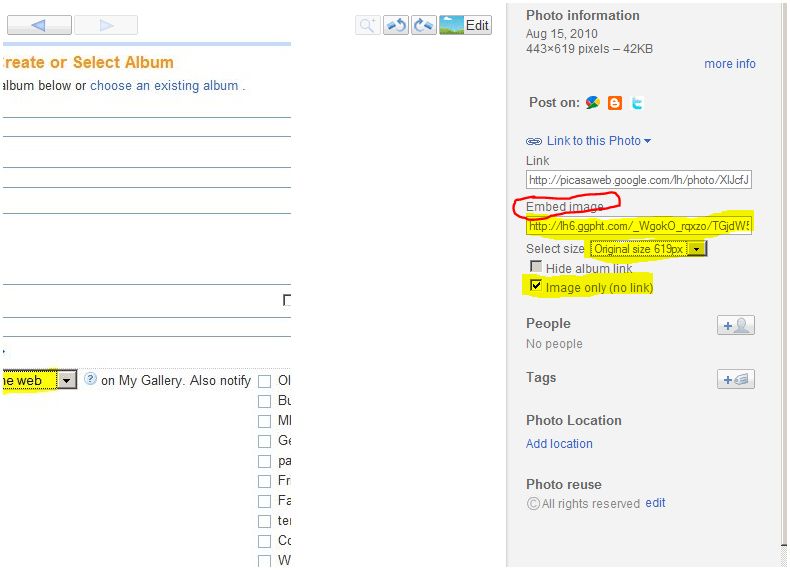
Now you are ready to insert the address or URL or the link to your image stored on Google Photo (Picassa). See the image above, find red circled
<Embed Image> and select and copy the http address in the box.
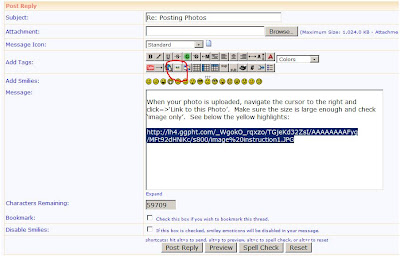
Paste the http or URL into the spot you want on the thread. Highlight the URL, and click
<insert image> which is circled red below.

Preview the image by clicking the
<Preview> button below the text box.
Doug